ASIC firmware: Installation guide
Important note
For SD card installs: Xilinx and BeagleBone control boards are supported
For Air installations: Xilinx, BeagleBone, Amlogic, and Cvitek are supported
Please let your ASICs run through the entire autotuning process after the firmware installation, which may take up to 2 hours. This will allow any pre-existing errors to be rectified and improve your farm performance.
Prerequisites
SD card installs: a micro SD card up to 32GB in capacity
Air installs: internet connected computer on the same local network as the ASIC(s) running Windows/Linux/MacOS/Android
Installation steps:
Download one of the following archives depending on the control board version (19 or 17):
SD card installs:
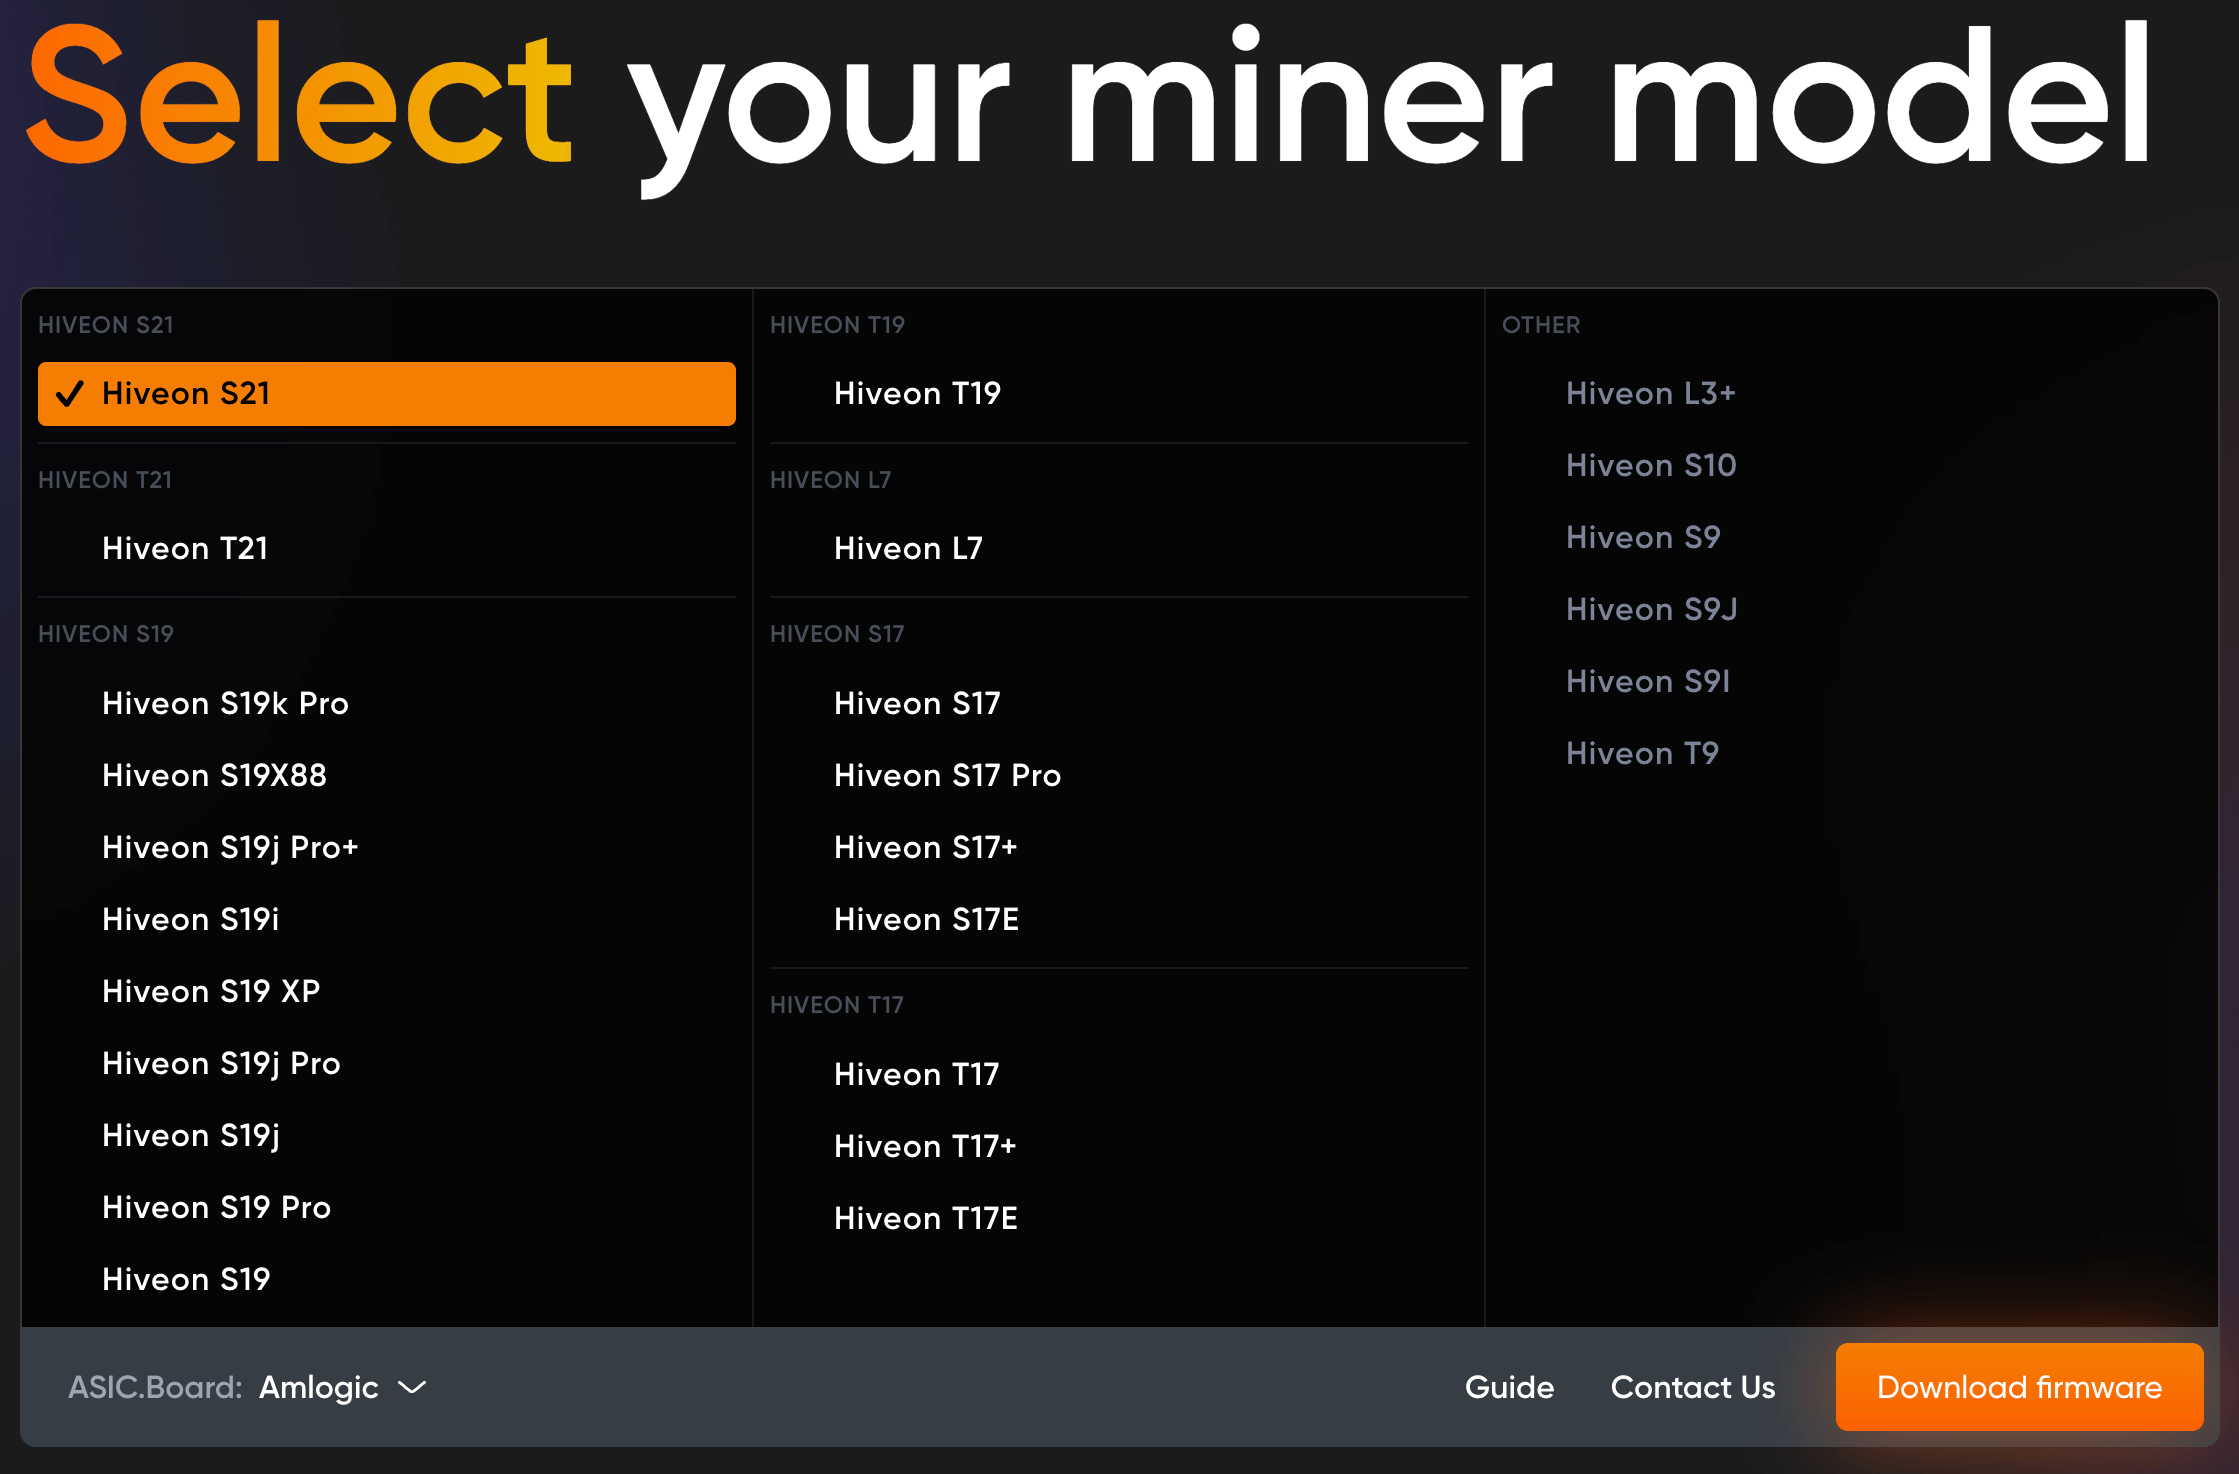
1. Navigate to: https://hiveon.com/asic/.
2. Select your model from the list
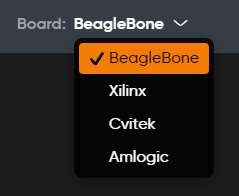
3. Select your control board type (Xilinx and BeagleBone are supported for SD card installs)
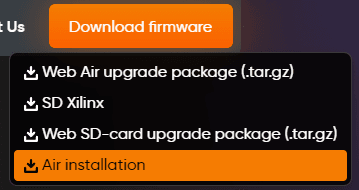
4. Click ‘Download firmware’ and select the ‘SD’ labeled file:

After the necessary archive is downloaded, do the following steps:
1. Format an SD card to FAT32 with MBR (Master Boot Record) partition scheme.
2. Unzip the downloaded file and copy its content to the Micro SD card. There are files in the root folder. Fill them, and ASIC will connect to Hive OS after flashing:
- FARM_HASH - in this file, insert FARM_HASH from the farm settings
- HIVE_HOST_URL - insert the API server, if it is essential to replace it. If the file is empty, the standard server is used (api.hiveos.farm)
3. Turn off your ASIC.
4. Insert the SD into the control board's slot.
5. Turn on your ASIC.
6. Wait for the autotuning to be done. Allow your ASICs to undergo the autotuning process, which might take up to 2 hours. Refrain from interfering and keep the devices powered on to ensure a successful error-free operation.
For information on how to link your ASIC to the Hive OS account, see How to bind ASIC miner to the farm.
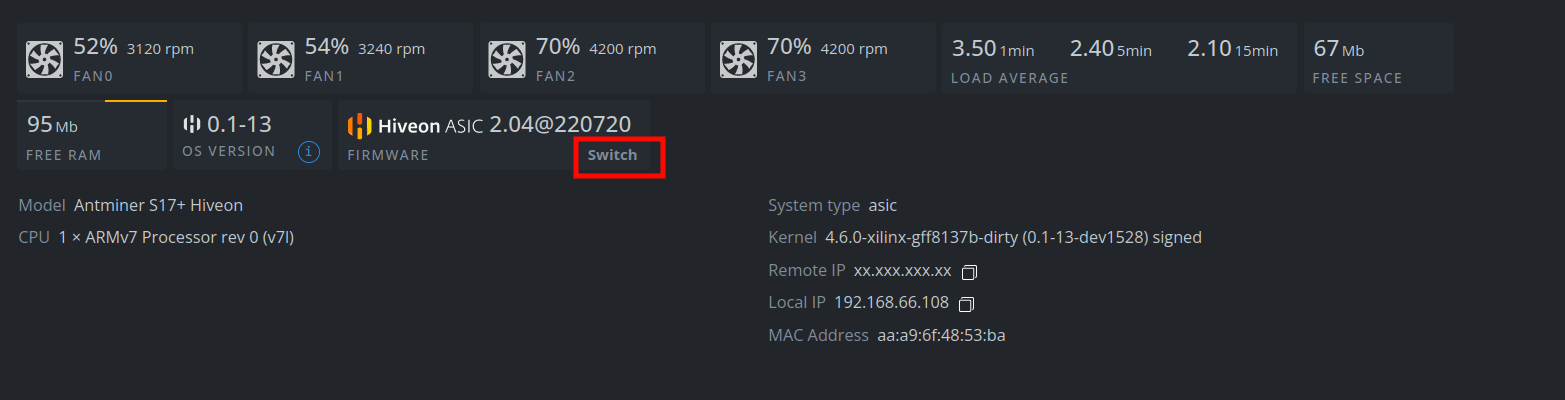
Updating firmware from Hive OS dashboard
If you use one of the previous versions of Hive OS for your ASIC miners, you need to first update them to a compatible firmware.
Click on the wand icon in the control panel of that miner.
![]()
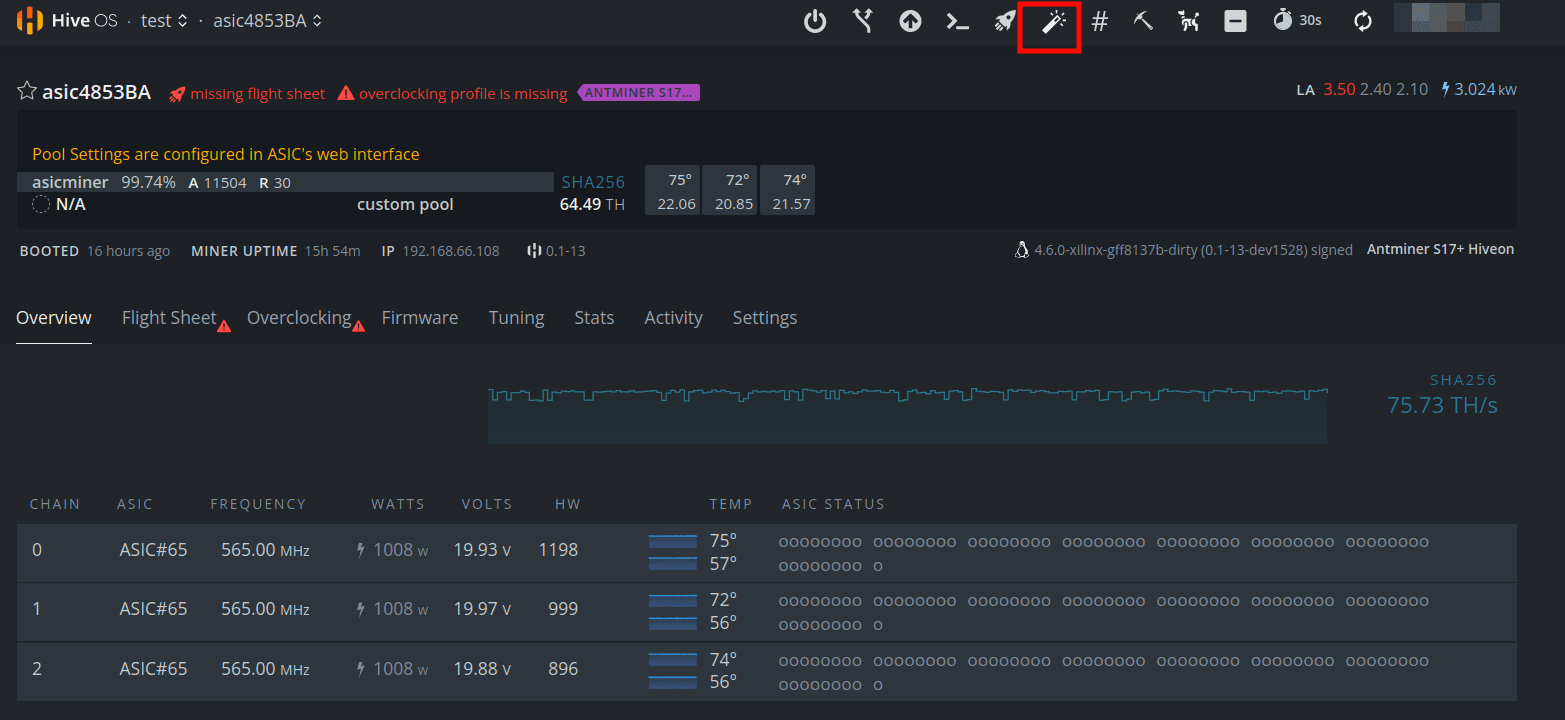
or the “switch” text in the firmware field at the bottom next to the OS version.
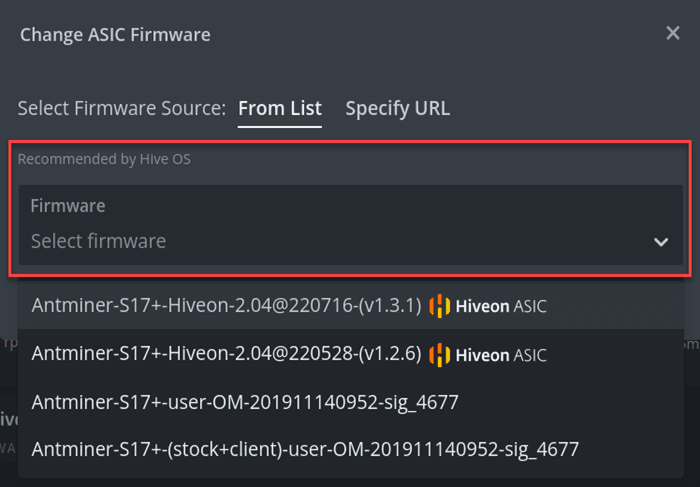
In the displayed window, click on the Select firmware drop-down list and select the desired firmware version. Then, click Apply.
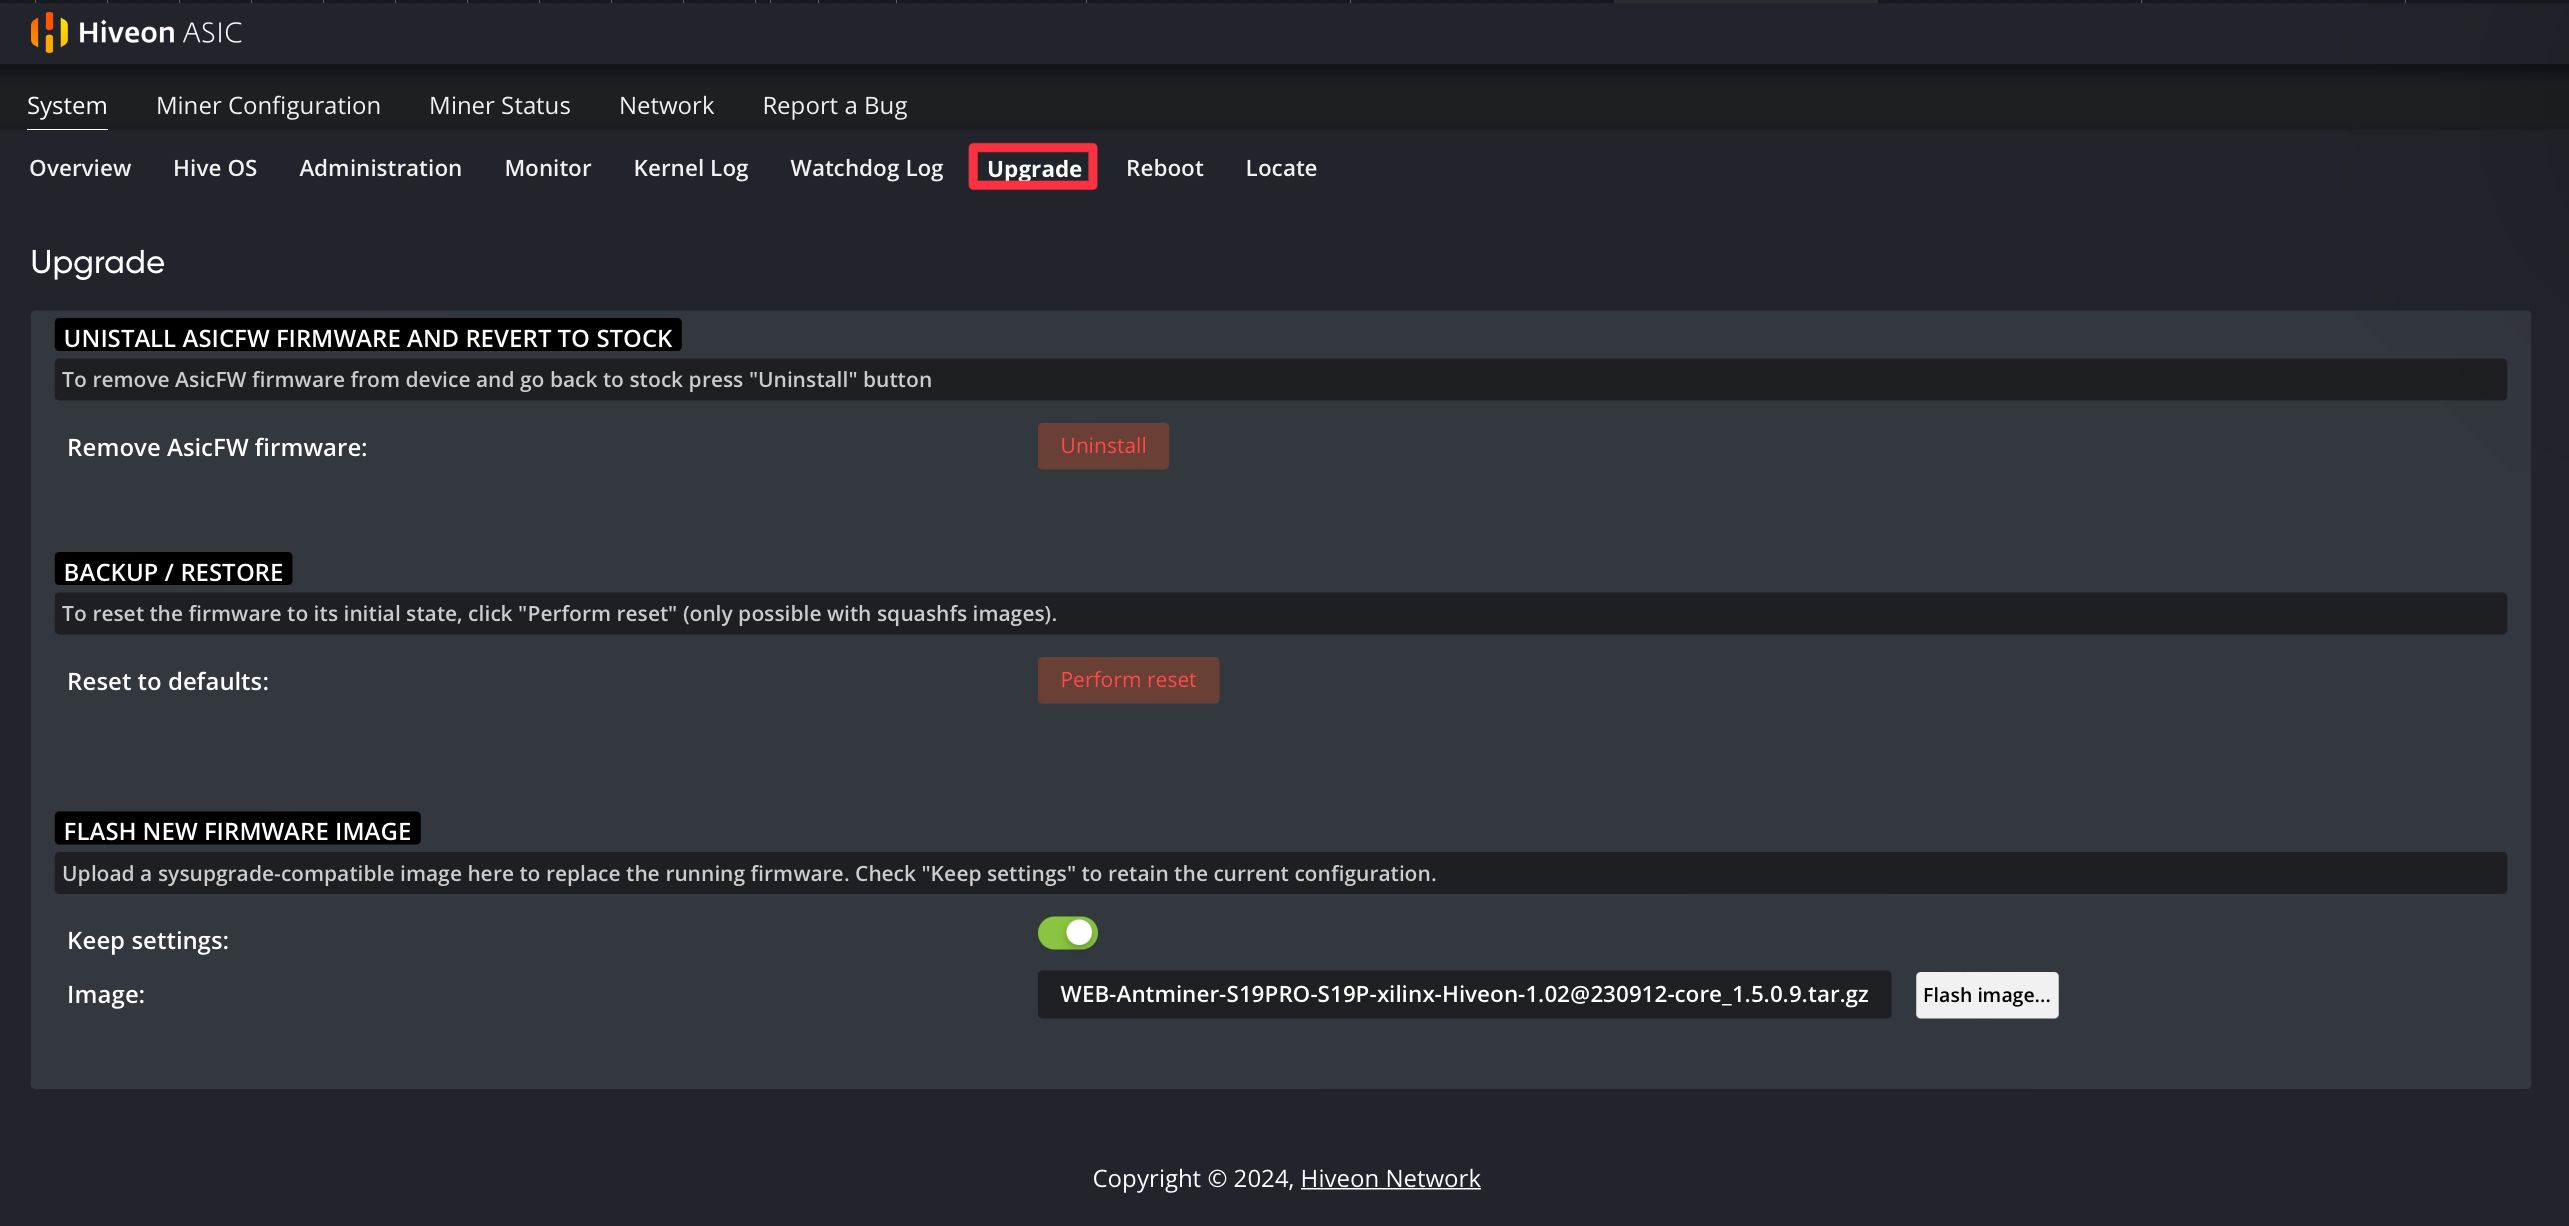
Firmware update via ASIC web (local IP)
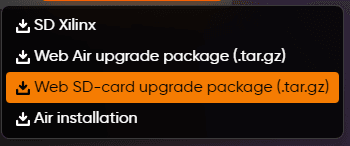
If Hiveon firmware is already installed on the SD card, and the ASIC is running, you can download the WEB SD-card upgrade package:
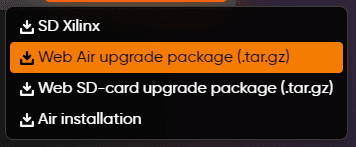
If you previously installed Hiveon Firmware via Air install, use the Web Air upgrade package:
Next, select this file on the update tab in ASIC web. Thus, it will not be necessary to overwrite the firmware on the SD card if it was previously installed.
Note: The older versions of Hiveon Firmware of the S19/T19 series might require reselecting the file. The first reboot prepares the Micro SD card file system, and the second reboot upgrades the firmware on the micro SD card.
Air install method:
1. Select your model from the list.
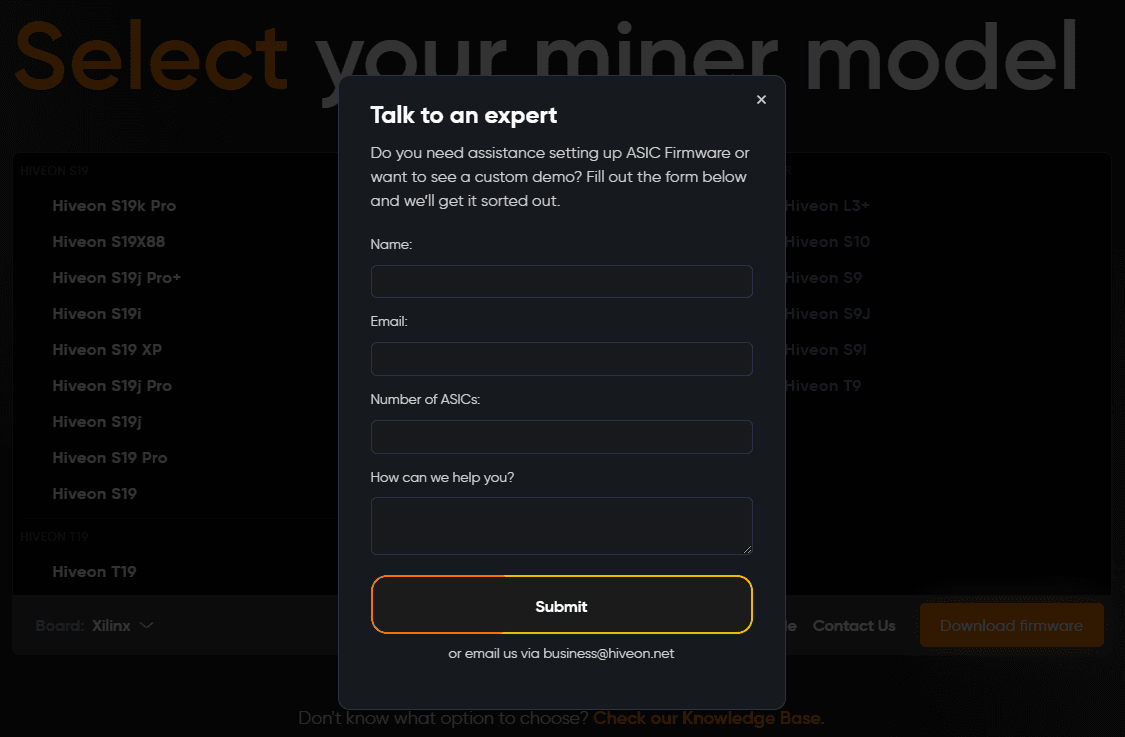
2. Click Download firmware and then select Air installation.
3. On the following screen, enter in your details such as: ASIC model(s), control board type and quantities, along with your contact info, and a member of our support team will reach out and complete the remote install(s).
Note: You will need an internet connected computer or device on the same local network as the ASIC(s) running Windows/Linux/MacOS/Android to complete the install.
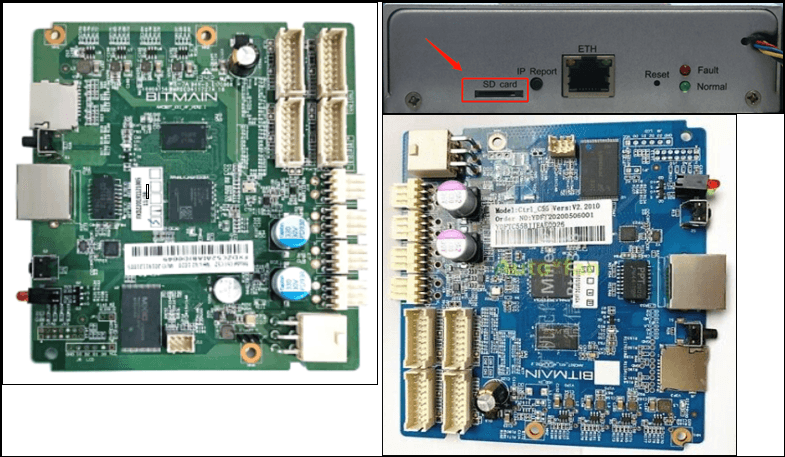
Control board identification
Antminer 19 series (e.g. Antminer S19j, S19j Pro) can be produced with 4 different control boards: Xilinx 7007, BeagleBone (BB), Amlogic and Cvitek CV1835. For each type of control board, only the firmware created specifically for this board is suitable.
The images below will help you to understand which control board you have.
Xilinx (model 7007 with SD slot)
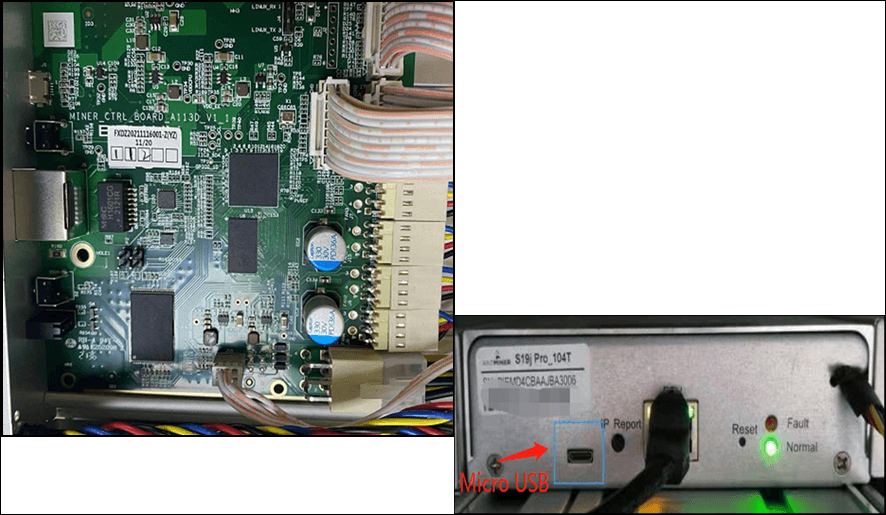
Amlogic (model A113D with microUSB)
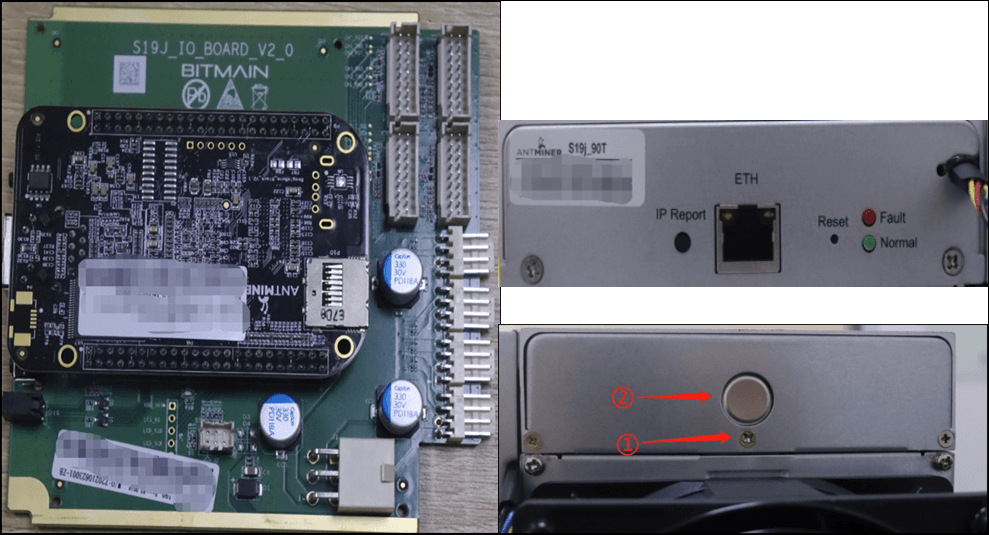
Beagle Bone (+ IO board, SD card)
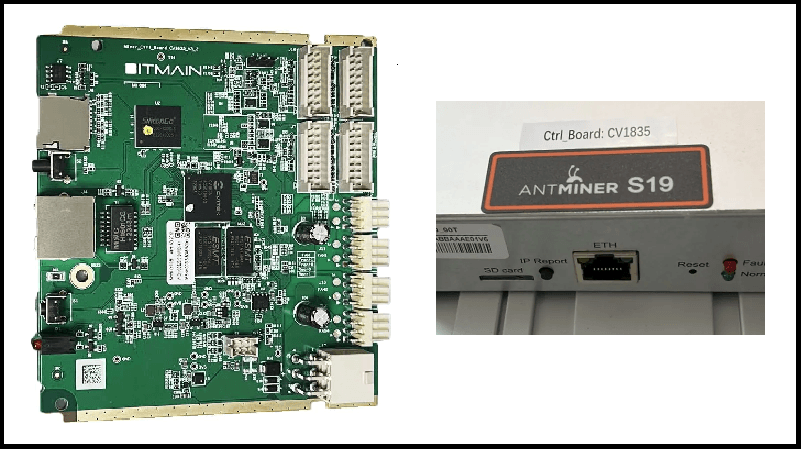
Cvitek CV1835
Formatting a microSD card
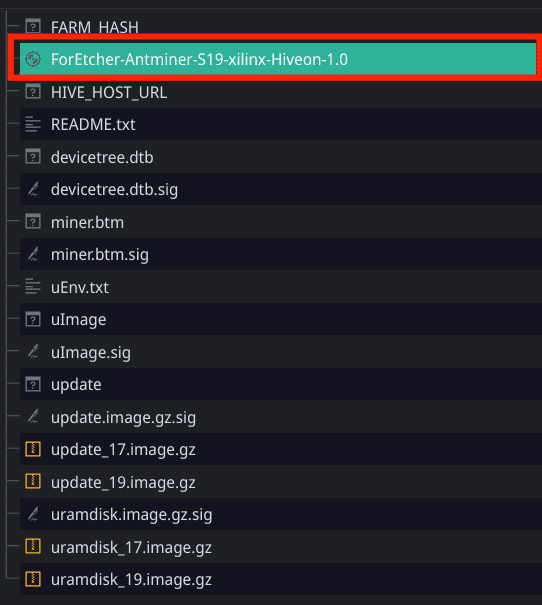
Firmware for the Antminer series 19 contains a file that is called by the template ForEtcher-Antminer-….img.
To minimize efforts for microSD card formatting, it is available to write the file with the help of the BalenaEtcher application.
1. From http://download.hiveos.farm/asic/, download an archive with the necessary firmware version. An archive is marked with a special icon for better recognition.
![]()
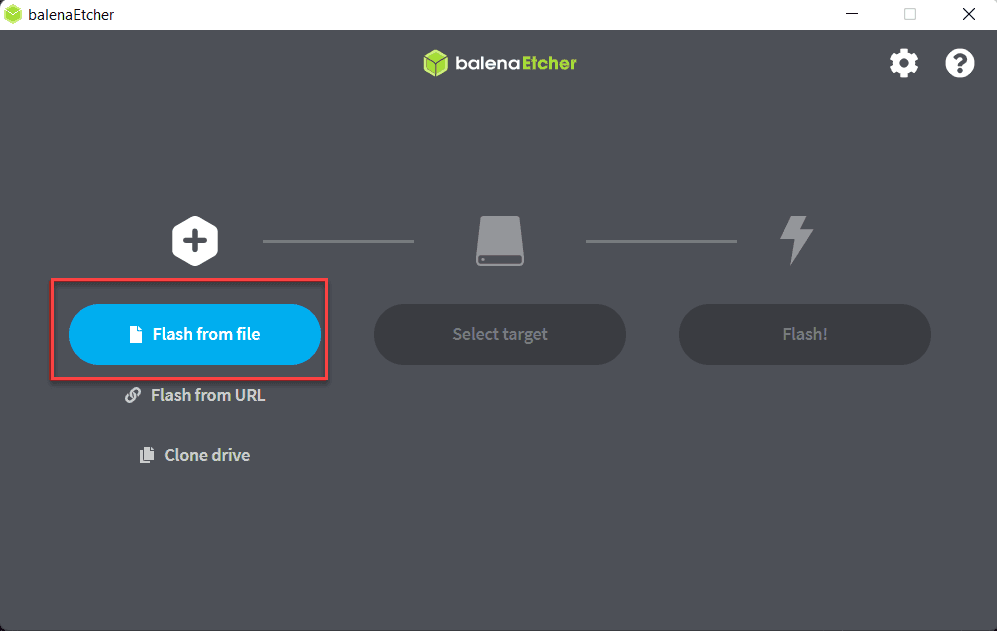
2. Run the BalenaEtcher application.
3. In the BalenaEtcher application, click Flash from the file and select the ASIC firmware archive that you have downloaded.
4. Insert a microSD card of less or equal to 32GB into your computer.
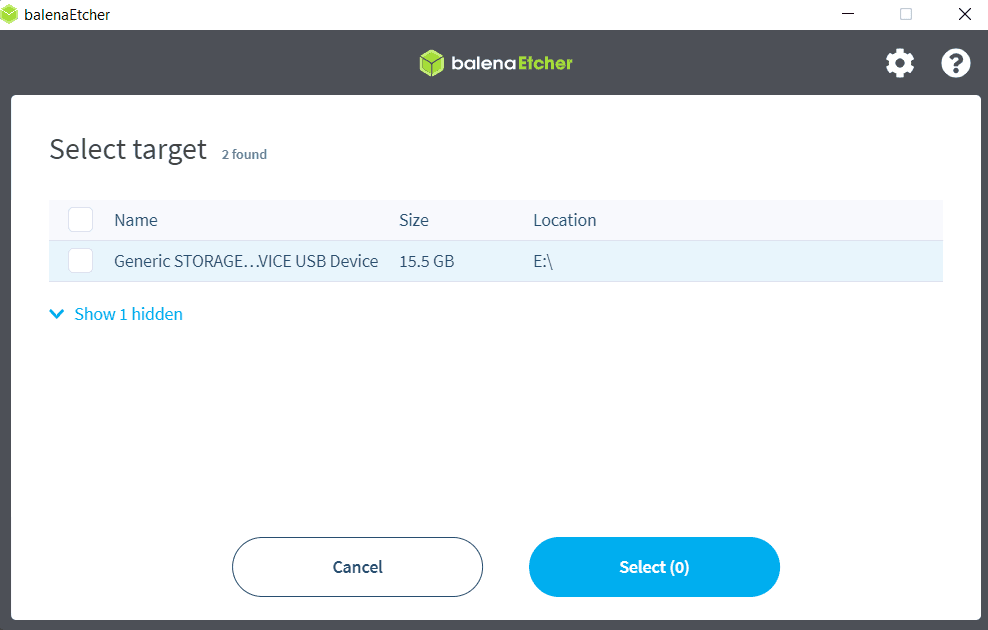
5. In the BalenaEtcher application, click Select target and choose your microSD card.
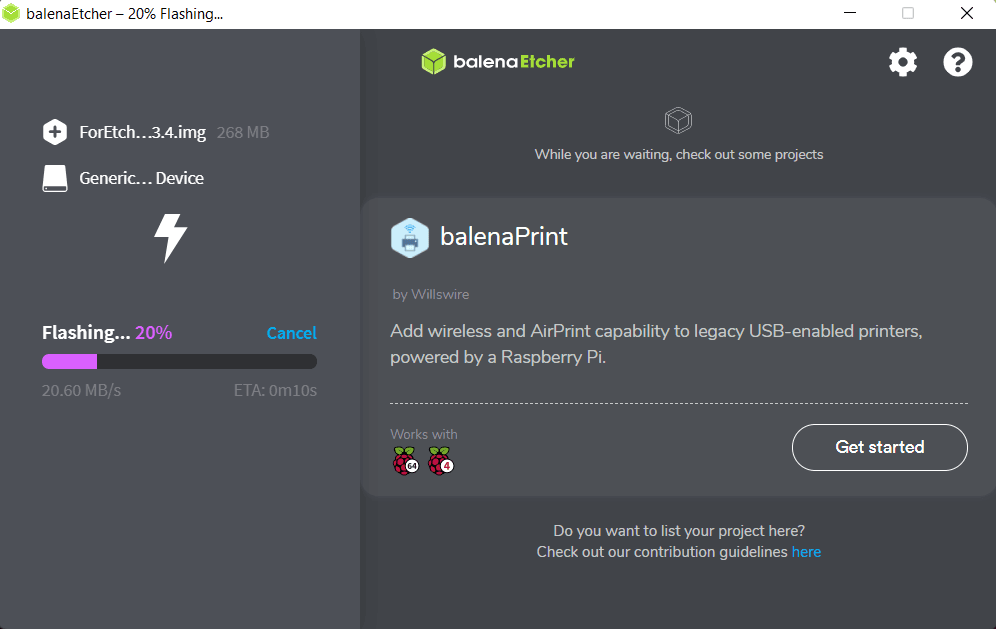
6. Click Flash.

The writing process has started.
When the writing process is finished, you can eject the microSD card.
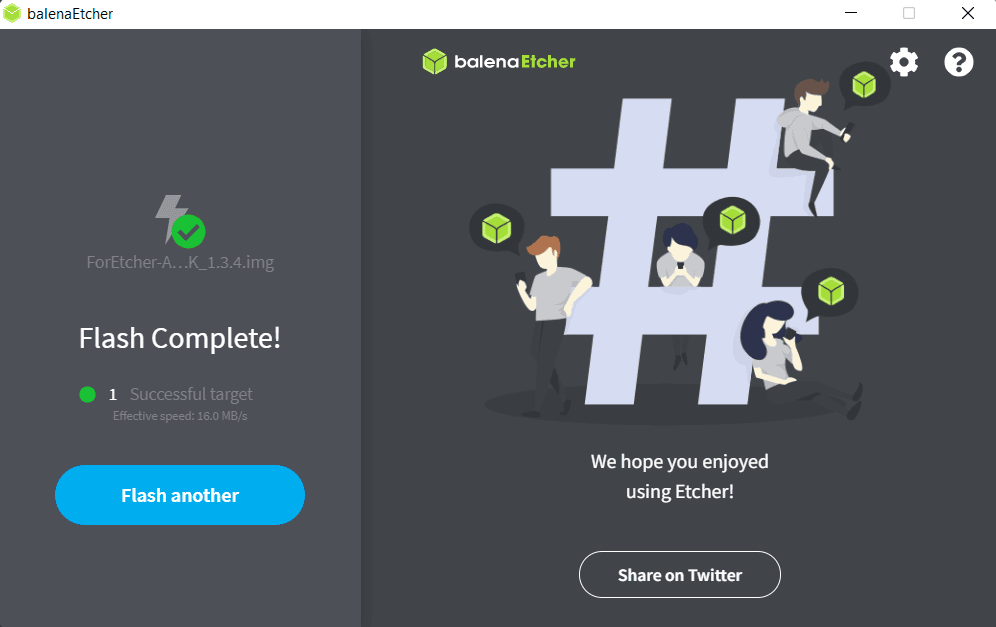
Now you can insert the microSD into the turned-off ASIC miner, and then, turn the ASIC miner on.
Alternative option for microSD card formatting
From https://hiveon.com/asic/, download an archive by clicking SD Xilinx and unpack the "img" file from the downloaded zip archive.